dotCMS Connector
DotCMS is a content management system specifically designed to manage documentation. dotCMS Connector enables you to easily integrate with the dotCMS application to ingest content and use it to answer user queries.
| Type of Repository | Cloud/ On-prem |
| Supported API version | v1 |
| Content Support | Files |
Authorization Support
Search AI supports Basic Auth with dotCMS. Hence to enable Search AI to interact with dotCMS, you require user credentials with the permissions to access the required resources.
DotCMS Connector Configuration
Authorization
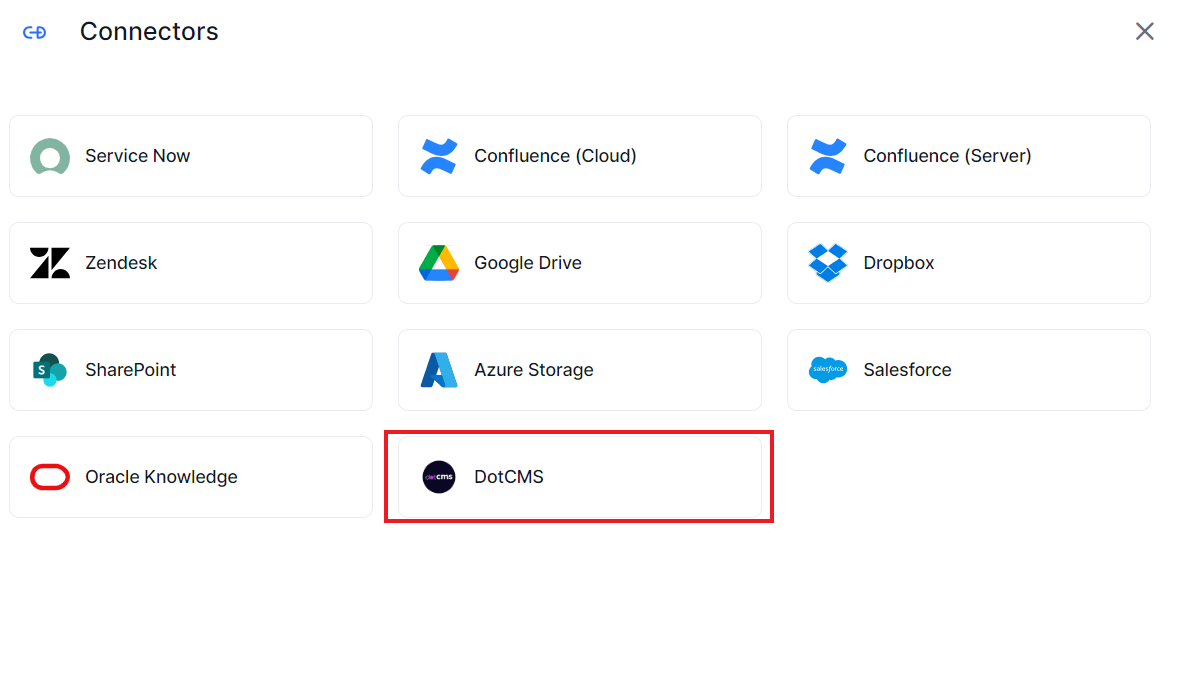
Go to the Connectors tab under the Sources and select DotCMS.
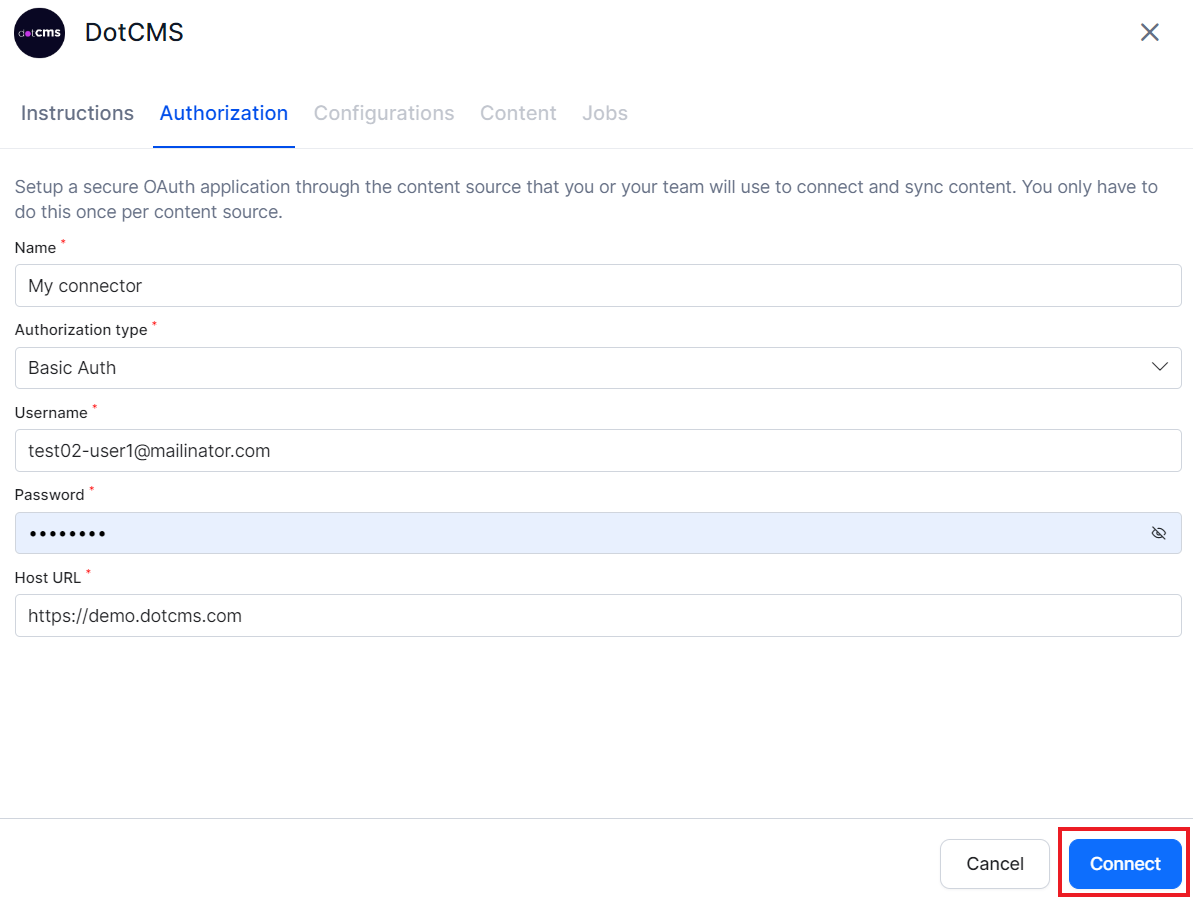
On the Authorization page, provide the following information to enable SearchAI to establish a connection with dotCMS.
| Fields | Description |
| Name | Name for the connector |
| Host URL | URL of the dotCMS application |
| Username | dotCMS Credentials |
| Password | dotCMS Credentials |
Click Connect. This will initiate the authorization process for the connector.
Once the authorization process is complete, you can select the content to be ingested and initiate synchronization.
Content Ingestion
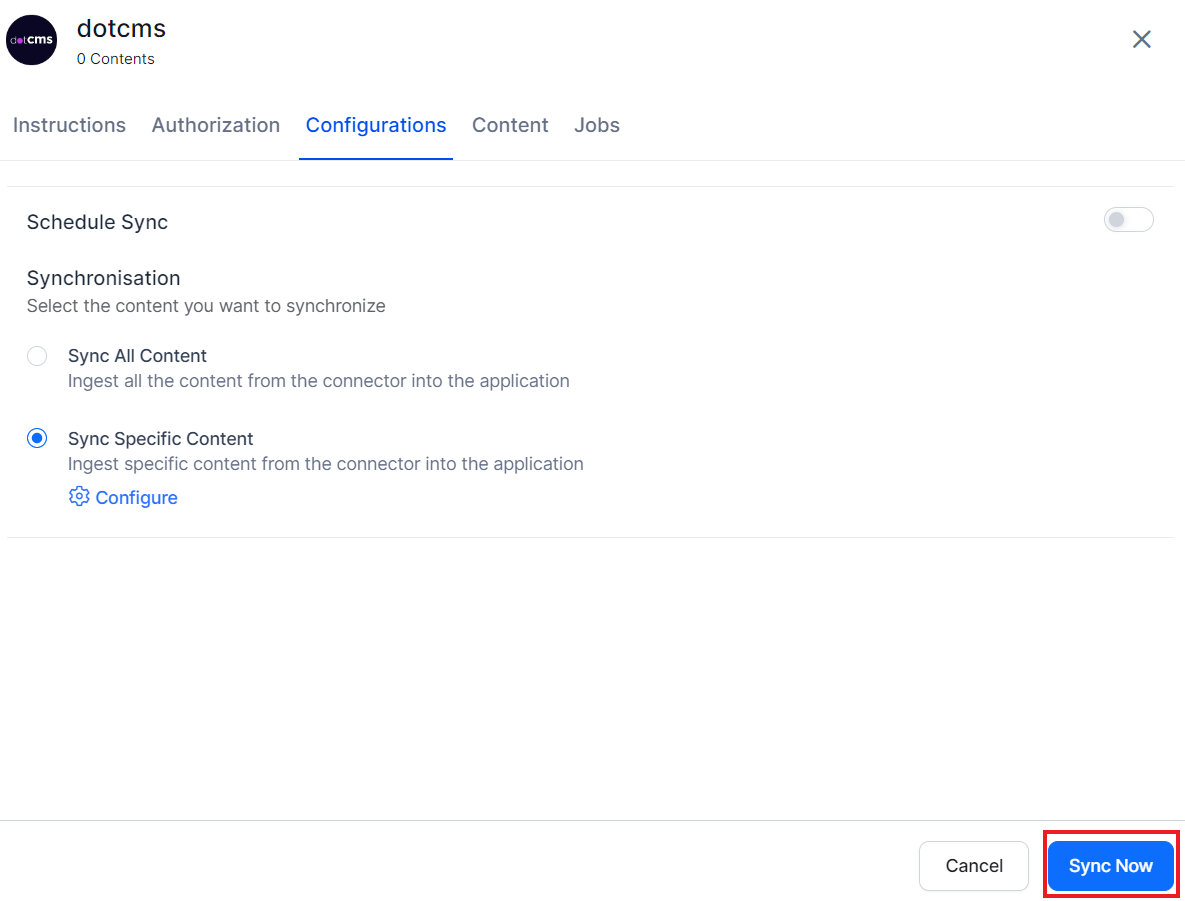
Go to the Configuration tab and select the content to be ingested. You can choose to sync all the content from the dotCMS account or select specific content.
Content Filters
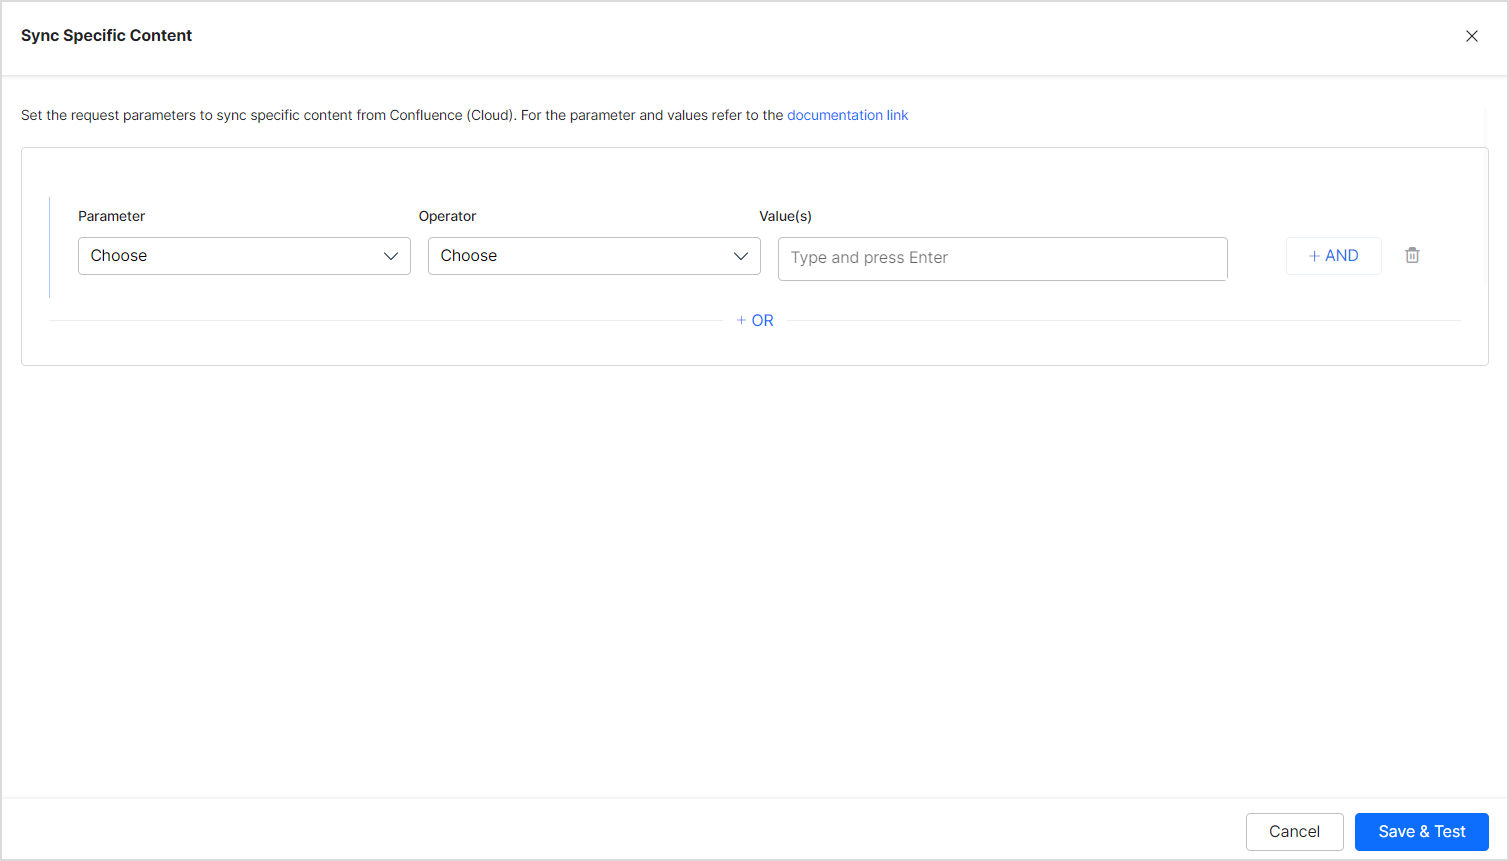
DotCMS connector allows you to set up rules to selectively ingest content from the application. To define such rules, select Sync Specific Content and click on the Configure link. The following page allows you to define rules for selecting the content. Each rule can be defined using a parameter, operator, and its values.
The Parameter field refers to the system property used to filter the content. By default, Search AI offers the following parameters but you can add any of the properties that you use for your content. Refer to this for more information on available System Properties in dotCMS.
- Base Type: Base content type in dotCMS. There is a fixed set of base types in dotCMS. Refer to this for more info on the values that the field can take.
- Content Type: Variable name for the Content Type defined for your content.
- Locked: Refers to the locked content. This can take values as true or false. Suppose locked content is to be ingested, set this to true. Else, set it to false.
- Live: Refers to the published content. This can take values as true or false. If published content is to be ingested, set this to true. Else, set it to false.
- Language ID: If content in a specific language is to be ingested, set this to the language ID defined by dotCMS.
The Operator field can take different values depending upon the parameter selected like equals to, not equals to, contains, etc.
The value field is used for providing the value of the parameter.
For instance, you can ingest all the content of Base Type as ‘Page’ using the following rule.

Similarly, to selectively ingest only the live pages in a certain language, you can configure the rule as shown below.
Note
- You can define more than one condition to choose different types of content from the connector using the OR operator.
- Every rule can have one or more conditions to select a subset of content using the AND operator.
- You can use other System Properties defined by dotCMS to add rules. The properties listed by default are the commonly used ones.
- Ensure that the properties and their values should exactly match the expected values in dotCMS. Refer to this for details.
Content Sync Schedule
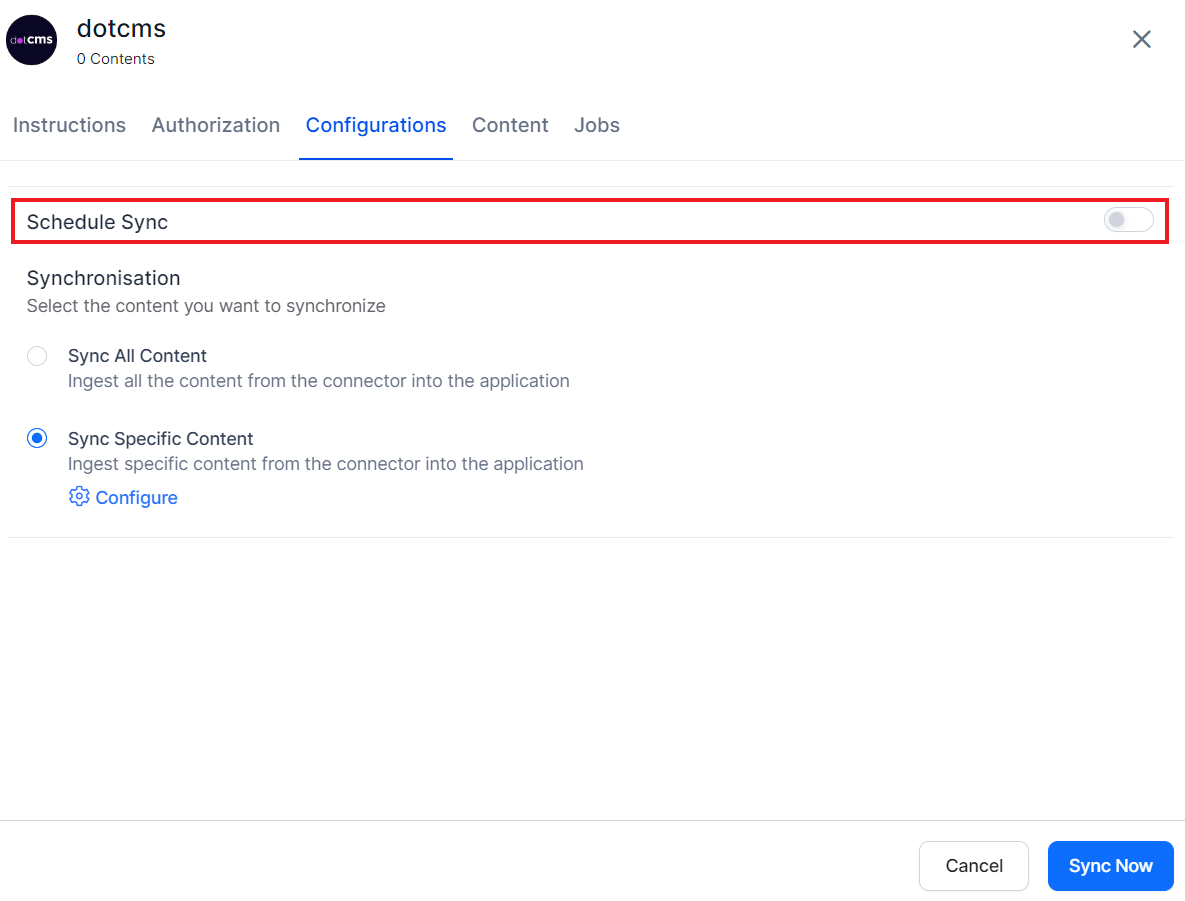
You can trigger a manual sync or schedule an automatic sync operation for the connector to ingest content from the dotCMS account.
To perform a manual sync operation at any time, click the Sync Now button. This ingests all the updates from the dotCMS account available at that time.
You can also set up automatic sync in the background at a specific time or at regular intervals. Regular sync ensures that the content in the Search AI application is always up to date and also saves time for an admin to perform manual sync. To enable automatic sync, enable the Schedule Sync option and select the date, time, and frequency of sync.
